
[C# 문법] C# 파일 생성, 쓰기, 삭제 방법
- C#/C# 문법
- 2020. 10. 16. 01:00

안녕하세요.
오늘은 C# 문법에서 파일 생성, 쓰기, 삭제 하는 방법에 대해서 알려 드리려고 합니다.
별도의 설명은 따로 하지 않고, 예제 프로그램을 만들어서 소스코드로 어떻게 파일을 생성하고 쓰고 삭제하는지 보여 드리도록 하겠습니다.
예제 프로그램은 윈도우 폼으로 작성 하였습니다.
먼저 빈 윈폼 프로젝트를 생성해 주시고, 아래와 같이 Button 컨트롤 3개를 배치해 주시기 바랍니다.
빈 윈폼 프로젝트 생성 및 컨트롤 배치
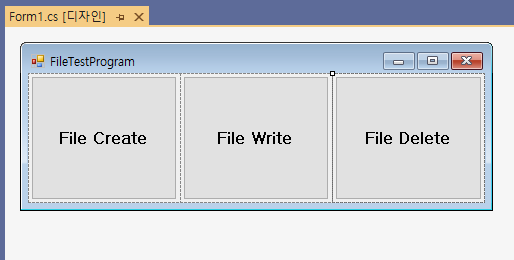
위와 같이 3개의 Button 컨트롤을 배치해 주시고, 각각 File Create, File Write, File Delete 이라고 이름을 붙여 주시기 바랍니다.
그럼 이제 각 Button 별 기능이 동작 되도록 예제 코드를 작성해 보도록 하겠습니다.
예제 코드
|
1
2
3
4
5
6
7
8
9
10
11
12
13
14
15
16
17
18
19
20
21
22
23
24
25
26
27
28
29
30
31
32
33
34
35
36
37
38
39
40
41
42
43
44
45
46
47
48
49
50
51
52
53
54
55
56
57
58
59
60
61
62
63
64
65
66
67
68
69
70
71
72
73
74
75
76
77
78
79
80
81
82
83
84
85
86
87
88
89
90
91
92
93
94
95
96
97
98
99
100
101
102
103
104
105
106
107
108
109
110
111
112
113
114
115
116
117
118
119
120
121
122
123
124
|
using System;
using System.IO;
using System.Windows.Forms;
namespace FileTest
{
public partial class Main : Form
{
public Main()
{
InitializeComponent();
//이벤트 선언
InitEvent();
}
/// <summary>
/// 각종 이벤트 선언 메서드
/// </summary>
private void InitEvent()
{
uiBtn_CreateFile.Click += UiBtn_CreateFile_Click;
uiBtn_WriteFile.Click += UiBtn_WriteFile_Click;
uiBtn_DeleteFile.Click += UiBtn_DeleteFile_Click;
}
/// <summary>
/// 파일 삭제 버튼 클릭 이벤트 핸들러
/// </summary>
/// <param name="sender"></param>
/// <param name="e"></param>
private void UiBtn_DeleteFile_Click(object sender, EventArgs e)
{
DeleteFile();
}
/// <summary>
/// 파일 쓰기 버튼 클릭 이벤트 핸들러
/// </summary>
/// <param name="sender"></param>
/// <param name="e"></param>
private void UiBtn_WriteFile_Click(object sender, EventArgs e)
{
WriteFile();
}
/// <summary>
/// 파일 생성 버튼 클릭 이벤트 핸들러
/// </summary>
/// <param name="sender"></param>
/// <param name="e"></param>
private void UiBtn_CreateFile_Click(object sender, EventArgs e)
{
CreateFile();
}
/// <summary>
/// 파일 생성 메서드
/// </summary>
private void CreateFile()
{
string path = @"C:\test\test.txt";
if(!File.Exists(path))
{
using (File.Create(path))
{
MessageBox.Show("파일 생성 성공");
}
}
else
{
MessageBox.Show("이미 파일이 존재 합니다.");
}
}
/// <summary>
/// 파일 쓰기 메서드
/// </summary>
private void WriteFile()
{
string path = @"C:\test\test.txt";
//파일 존재 유무 확인
if(File.Exists(path))
{
TxtWrite(path);
MessageBox.Show("파일 쓰기 성공");
}
else
{
CreateFile(); //파일이 존재 하지 않으면 다시 생성
}
}
/// <summary>
/// Txt 파일 쓰기 메서드
/// </summary>
/// <param name="path"></param>
private void TxtWrite(string path)
{
StreamWriter writer;
writer = File.AppendText(path);
writer.WriteLine("텍스트 파일 이어 쓰기 성공");
writer.Close();
}
/// <summary>
/// 파일 삭제 메서드
/// </summary>
private void DeleteFile()
{
string path = @"C:\test\test.txt";
//파일 존재 유무 확인
if (File.Exists(path))
{
File.Delete(path);
MessageBox.Show("파일 삭제 성공");
}
}
}
}
|
cs |
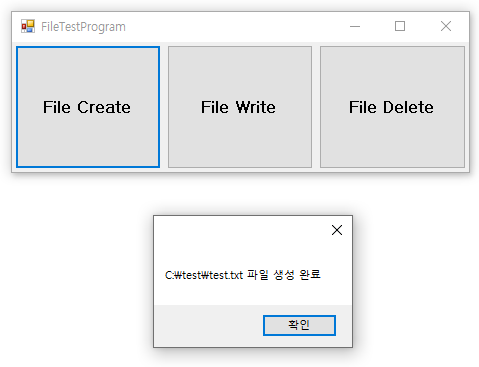
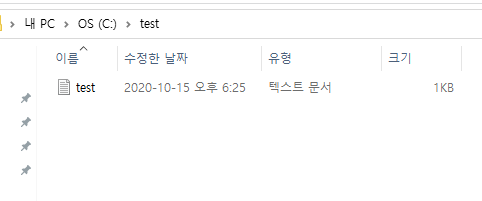
실행 결과
파일 생성
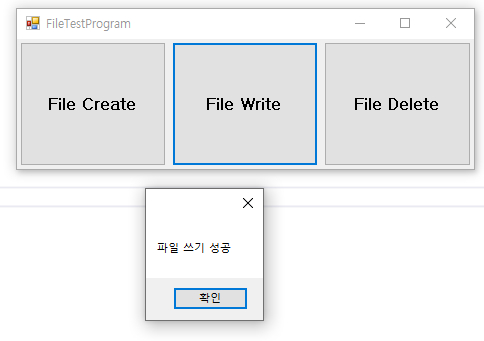
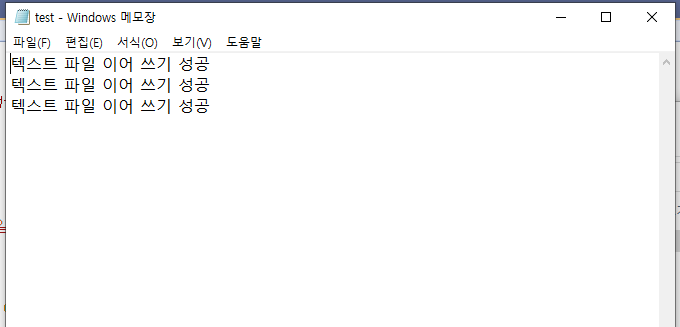
파일 쓰기
파일 삭제
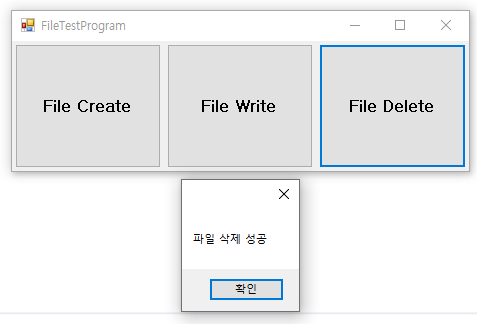
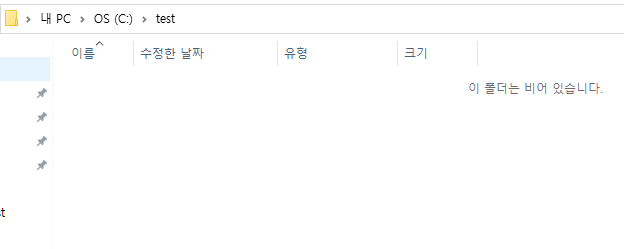
위와 같이 실행 결과를 보시게 되면 파일 생성, 파일 쓰기, 파일 삭제가 모두 제대로 동작하는 모습을 확인하실 수 있습니다.
이로써, 오늘은 C#에서 파일 생성, 쓰기, 삭제하는 방법에 대해서 알아 보았습니다.
감사합니다.^^
728x90
'C# > C# 문법' 카테고리의 다른 글
| [C# 문법] Thread Join 메서드와 Sleep 메서드 사용방법 (0) | 2020.11.10 |
|---|---|
| [C# 문법] C# JSON 파일 생성, 쓰기, 읽기 (11) | 2020.10.17 |
| [C# 문법] C# Serilog 사용하여 로그 남기기 (0) | 2020.10.13 |
| [C# 문법] C# 문자열 전위, 후위 비교하기 (StartsWith, EndsWith) (0) | 2020.10.11 |
| [C# 문법] C# 처리하지 못한 예외 처리하는 방법 (0) | 2020.09.24 |


