
[Blazor] Blazor MonacoEditor 사용방법
- 웹 프로그래밍/Blazor
- 2023. 2. 6. 19:42

참고
개요
- Blazor 에서 MonacoEditor 사용하는 방법에 대해서 정리 진행합니다.
개발환경
- 테스트 개발 환경은 다음과 같습니다.
- .NET 6
- Visual Studio 2022
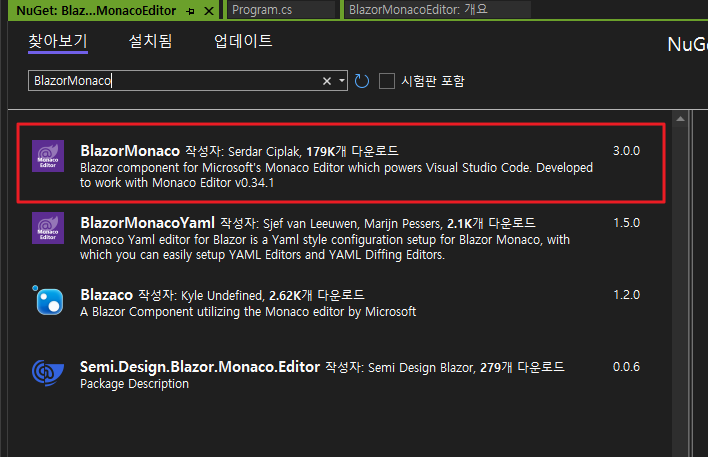
1. BlazorMonaco Nuget 설치
- 제일 먼저, Blaozr 프로젝트에 NuGet 패키지를 추가합니다.
dotnet add package BlazorMonaco
// or
Install-Package BlazorMonaco- 위 명령어를 통해서 다운로드 할 수도 있고, Visual Studio 에서 직접 NuGet 패키지 설치 진행해도 됩니다.
2. 스크립트 추가
- 저는 Blazor Server 프로젝트를 생성 후, 테스트 진행하였습니다.
- Blazor Server 에서는, _Layout_cshtml 에 스크립트 추가를 해줄 수 있습니다.
- 추가해 주는 스크립트 내용은 아래와 같습니다.
<script src="_content/BlazorMonaco/jsInterop.js"></script>
<script src="_content/BlazorMonaco/lib/monaco-editor/min/vs/loader.js"></script>
<script src="_content/BlazorMonaco/lib/monaco-editor/min/vs/editor/editor.main.js"></script>
3. using 구문 추가
- 다음으로 BlazorMonaco 관련 using 구문을 추가해 줍니다.
- 위 내용은 _Imports.razor 파일에 추가해 주면 됩니다.
@using BlazorMonaco
@using BlazorMonaco.Editor
4. 코드 작성
- 이제 Blazor Monaco Editor 사용 설정은 완료 되었습니다.
- 예제 코드를 작성하여, Blazor 상에서 Monaco Editor 를 사용해보도록 하겠습니다.
- 코드는 아래와 같습니다.
@page "/"

<h3>Code Editor</h3>

<div>
    <div style="margin:10px 0;">
        Theme:
        <select @onchange="ChangeTheme">
            <option value="vs">Visual Studio</option>
            <option value="vs-dark">Visual Studio Dark</option>
            <option value="hc-black">High Contrast Black</option>
        </select>
    </div>
    <div style="margin:10px 0;">
        New Value: <input type="text" @bind="_valueToSet" style="width: 400px;" /> <button @onclick="SetValue">Set Value</button>
    </div>
    <div style="margin:10px 0;">
        <button @onclick="GetValue">Get Value</button>
    </div>
    <div style="margin:10px 0;">
        <button @onclick="AddCommand">Add Command (Ctrl+Enter)</button>
    </div>
    <div style="margin:10px 0;">
        <button @onclick="AddAction">Add Action (Ctrl+B)</button>
    </div>
    <div style="margin:10px 0;">
        See the console for results.
    </div>
</div>

<StandaloneCodeEditor @ref="_editor" CssClass="my-editor-class" ConstructionOptions="EditorConstructionOptions" OnDidInit="EditorOnDidInit" OnContextMenu="OnContextMenu" />

@code {
    private StandaloneCodeEditor _editor = null!;
    private string _valueToSet = "";

    private StandaloneEditorConstructionOptions EditorConstructionOptions(StandaloneCodeEditor editor)
    {
        return new StandaloneEditorConstructionOptions
            {
                Language = "python",
                GlyphMargin = true,
                Value = "import banana\n" +
                        "                                    \n " +
                                "# Bananas the monkey can eat.\n" +
                                "  capacity = 10\n" +
                                "  def eat(self, n):\n" +
                                "   \"\"\"Make the monkey eat n bananas!\"\"\"\n" +
                                "   self.capacity -= n * banana.size\n" +
                                "                                    \n " +
                                "   def feeding_frenzy(self):\n" +
                                "   self.eat(9.25);\n" +
                                "   return \"\"\"Yum yum\"\"\"\n"
            };
    }

    private async Task EditorOnDidInit()
    {
        await _editor.AddCommand((int)KeyMod.CtrlCmd | (int)KeyCode.KeyH, (args) =>
        {
            Console.WriteLine("Ctrl+H : Initial editor command is triggered.");
        });

        var newDecorations = new ModelDeltaDecoration[]
        {
            new ModelDeltaDecoration
            {
                Range = new BlazorMonaco.Range(3,1,3,1),
                Options = new ModelDecorationOptions
                {
                    IsWholeLine = true,
                    ClassName = "decorationContentClass",
                    GlyphMarginClassName = "decorationGlyphMarginClass"
                }
            }
        };

        decorationIds = await _editor.DeltaDecorations(null, newDecorations);
        // You can now use 'decorationIds' to change or remove the decorations
    }

    private string[] decorationIds = new string[0];

    private void OnContextMenu(EditorMouseEvent eventArg)
    {
        Console.WriteLine("OnContextMenu : " + System.Text.Json.JsonSerializer.Serialize(eventArg));
    }

    private async Task ChangeTheme(ChangeEventArgs e)
    {
        Console.WriteLine($"setting theme to: {e.Value?.ToString()}");
        await Global.SetTheme(e.Value?.ToString());
    }

    private async Task SetValue()
    {
        Console.WriteLine($"setting value to: {_valueToSet}");
        await _editor.SetValue(_valueToSet);
    }

    private async Task GetValue()
    {
        var val = await _editor.GetValue();
        Console.WriteLine($"value is: {val}");
    }

    private async Task AddCommand()
    {
        await _editor.AddCommand((int)KeyMod.CtrlCmd | (int)KeyCode.Enter, (args) =>
        {
            Console.WriteLine("Ctrl+Enter : Editor command is triggered.");
        });
    }

    private async Task AddAction()
    {
        var actionDescriptor = new ActionDescriptor
            {
                Id = "testAction",
                Label = "Test Action",
                Keybindings = new int[] { (int)KeyMod.CtrlCmd | (int)KeyCode.KeyB },
                ContextMenuGroupId = "navigation",
                ContextMenuOrder = 1.5f,
                Run = (editor) =>
                {
                    Console.WriteLine("Ctrl+B : Editor action is triggered.");
                }
            };
        await _editor.AddAction(actionDescriptor);
    }
}
4. css 추가
- 마지막으로, global css에 Editor 높이를 설정해주는 CSS 코드를 추가해 주어야 합니다.
wwwroot->css->site.css파일에 아래 코드를 추가해 줍니다.
.my-editor-class { /* for a specific editor instance */
    height: 500px;
    width: 100%;
    border: 1px solid black;
}- 위 코드를 추가해 주어야, Monaco Editor 의 높이와 너비가 조정됩니다.
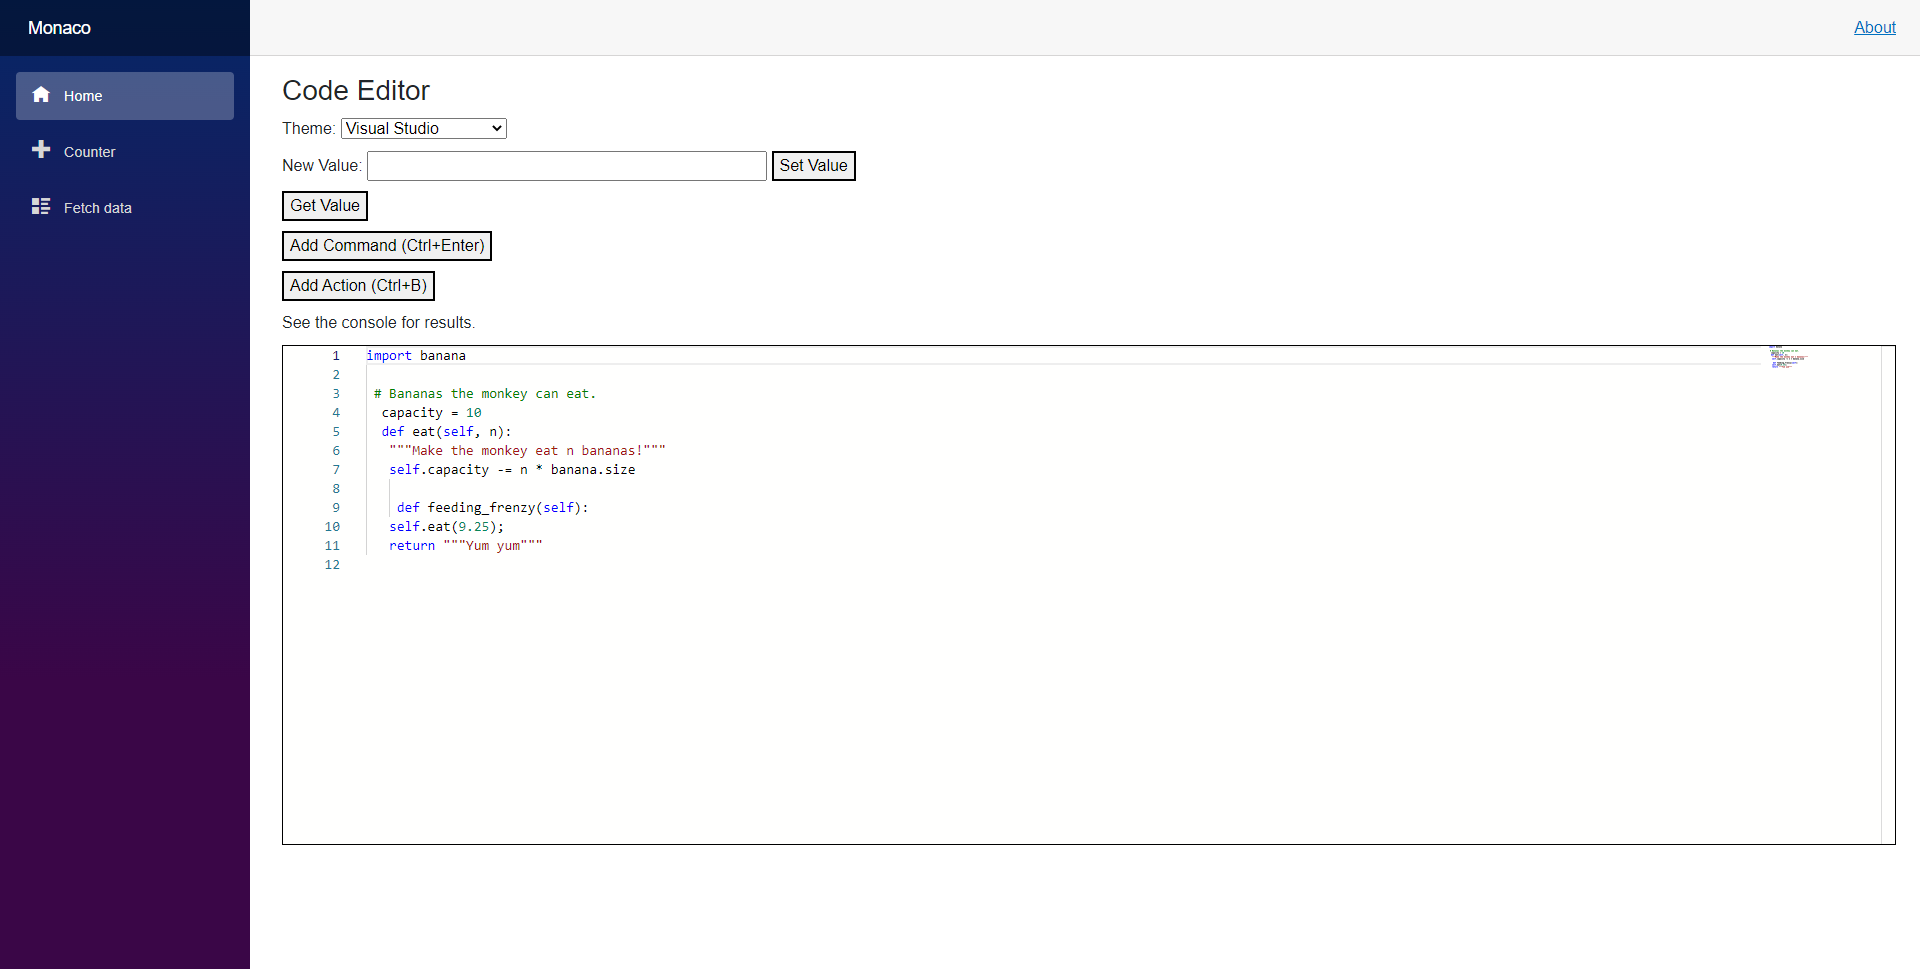
5. 실행 결과
- 실행결과, Blaozr 에서 Monaco Editor Viewer 가 나오는 것을 확인할 수 있습니다.
728x90
'웹 프로그래밍 > Blazor' 카테고리의 다른 글
| [Blazor] Grafana DashBoard iframe URL http 로 가져오는 방법 (0) | 2023.01.06 |
|---|---|
| [Blazor] iframe 태그 이용하여 grafana DashBaord HTTPS URL 불러오기 (0) | 2023.01.06 |
| [Blazor] ToDoList 만들기 (0) | 2022.12.15 |
| [Blazor] LocalStorage 사용법 (1) | 2022.12.10 |
| [Blazor] JWT 예제 (0) | 2022.12.10 |


